Installing vRealize build tools - Part 1
People working with vRealize Orchestrator know that it is a powerful orchestration engine. The UI however has not evolved until very recently. Another downside of vRO 7.x is that there is no native integration with versioning tools like git.
Since version 8 of vRO the old Java client is no longer available, instead it has become a purely webbased UI. While it is a good thing that there is finally some investments being made to modernize vRO. It will take some time to get the new UI on par with the old Java based client. Even when the vRO 8 UI becomes on par functionality wise with the old Java client, it will still lack a lot of functionality available in modern IDEs like Visual Studio Code.
Recently two new options became available which try to solve these limitations.
- vRoast developed by my @ITQ colleague @floreseken
- vRealize Build Tools developed by the VMware Center of Excellence and currently available as a fling.
In this blog post I will describe the steps required to prepare for using the vRealize Build Tools fling. There are quit some dependencies and steps involved to get started.
Deploy Artifactory server
Artifactory is used to store artifacts and dependencies required during the build process of the written code. It’s used to transfer artifacts between Visual Studio Code and your vRO/vRA.
Artifactory is available as an appliance from Bitnami. I’m using the Artifactory OSS Edition in my homelab. Once you have the appliance up and running, connect to the Artificatory URL at http://<ArtifactoryServer>:8081. You will see the welcome to JFrog Artifactory page.
Configure Artifactory
Follow the configuration wizard, configure the admin password and set the proxy server if needed to access internet. Internet access is required to download the dependencies required when building the vRA/vRO projects. Create a maven based repository at the create repositories page.
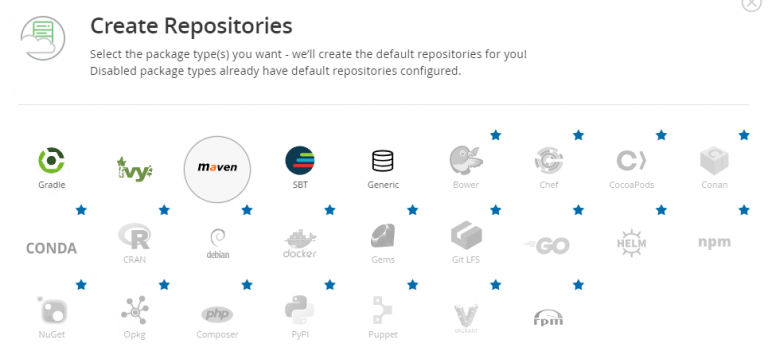
Artifactory will create the following maven based repositories.
- libs-snapshot-local
- libs-release-local
- jcenter
- libs-snapshot
- libs-release
Create a vRealize Build tools Artifactory repository
In the previous step we created the base Artifactory repositories. Next step is to create a local repository for the vRealize Build Tools.
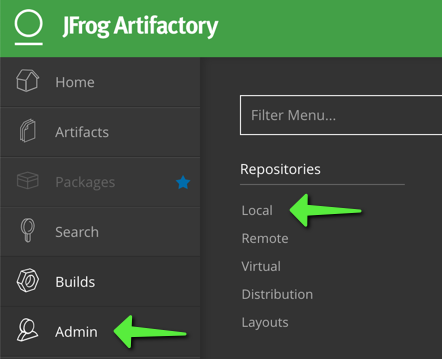
Go to Artifactory > Admin > Repositories and click on local
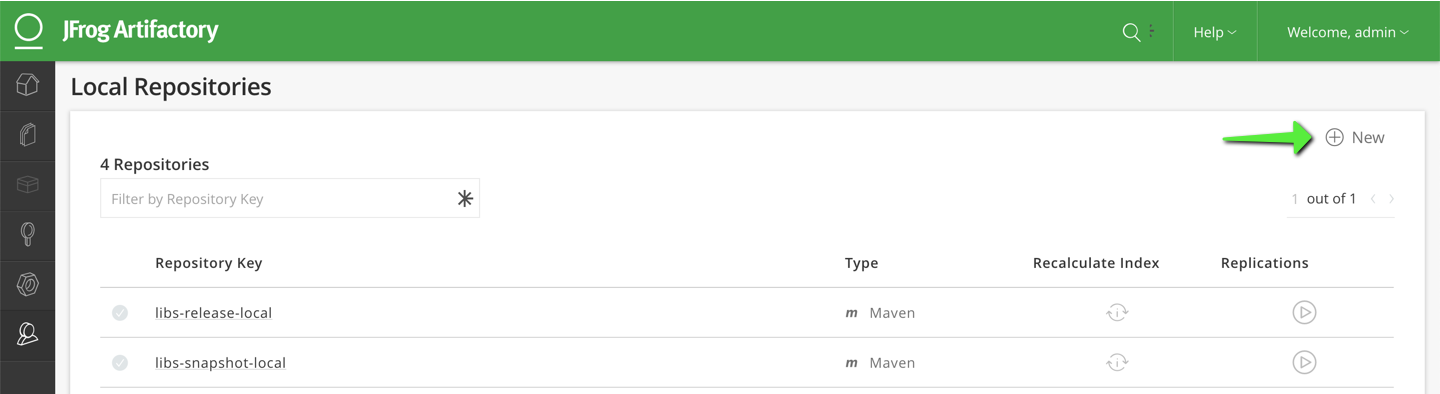
Click on the + icon on the right hand side.
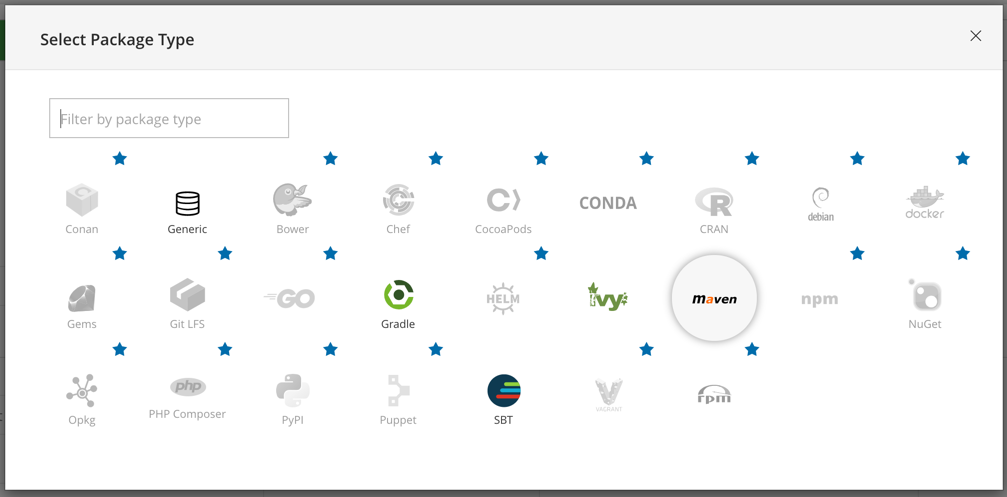
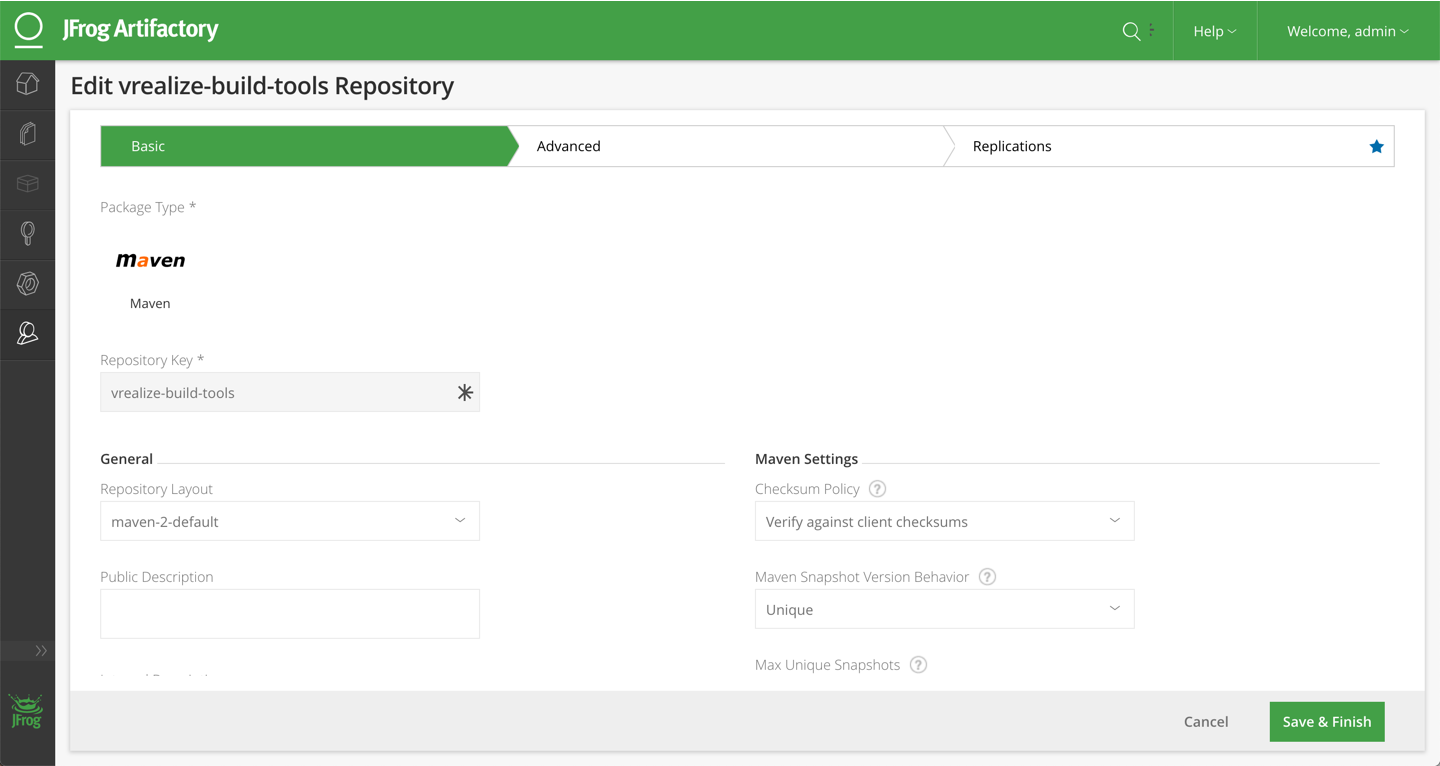
Select maven as the package type.
Keep the default settings as is and click on Save & Finish.
This newly created repository needs to be added to the virtual libs-release repository.
Go to Admin > Repositories > Virtual.
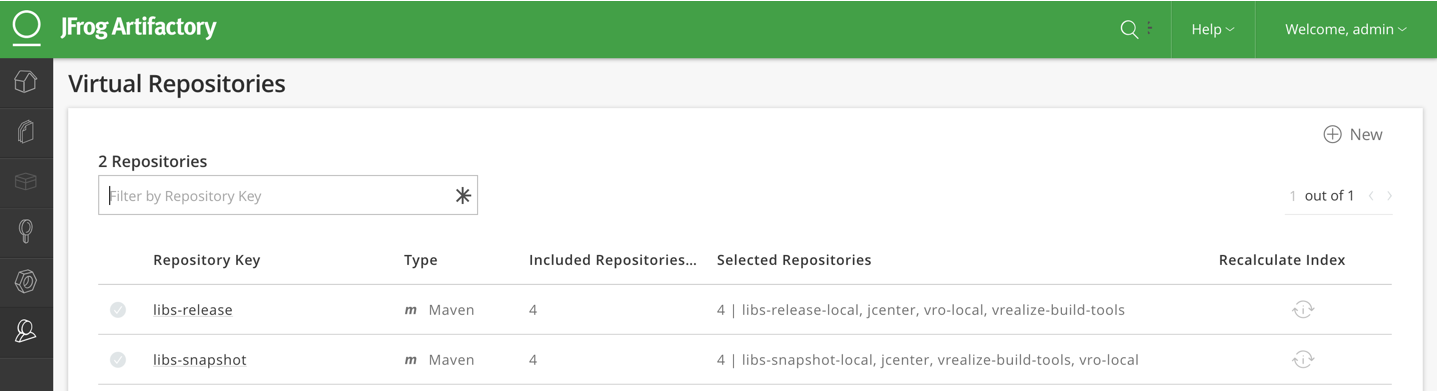
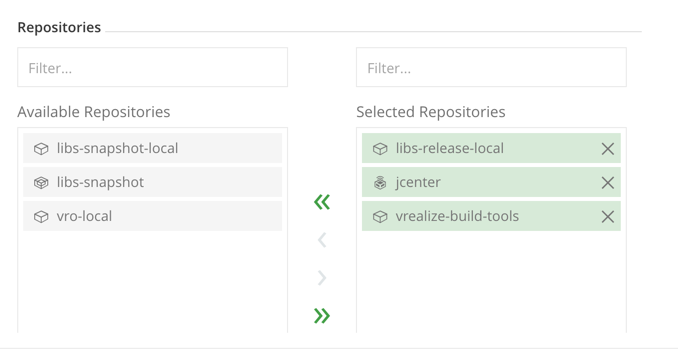
Click on the libs-release repository. Move the vrrealize-build-tools repo from the avaiable repos to the selected repos. Click Save & Finish.
Create a vRealize Orchestrator Artifactory repository
We also need to create a repository for the vRealize Orchestrator artifacts. The steps need are identical to the ones needed for creating the vrealize-build-tools, only the name of the repo changes.
Configure API key
Next we need to create an API key which allows accessing Artifactory without needing to store account information in configuration files.
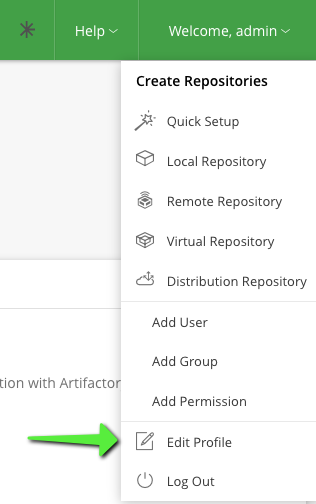
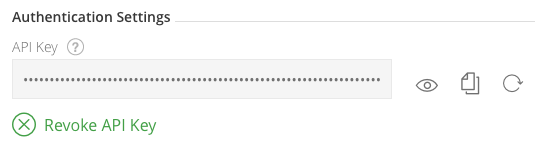
Enter your password once more to unlock the administration part. Got to the authentication settings part. Click on the gear symbol next to Click on Generate to create key.

Copy the generated API Access key and store it so you can access it later.
Configure Artifactory permissions
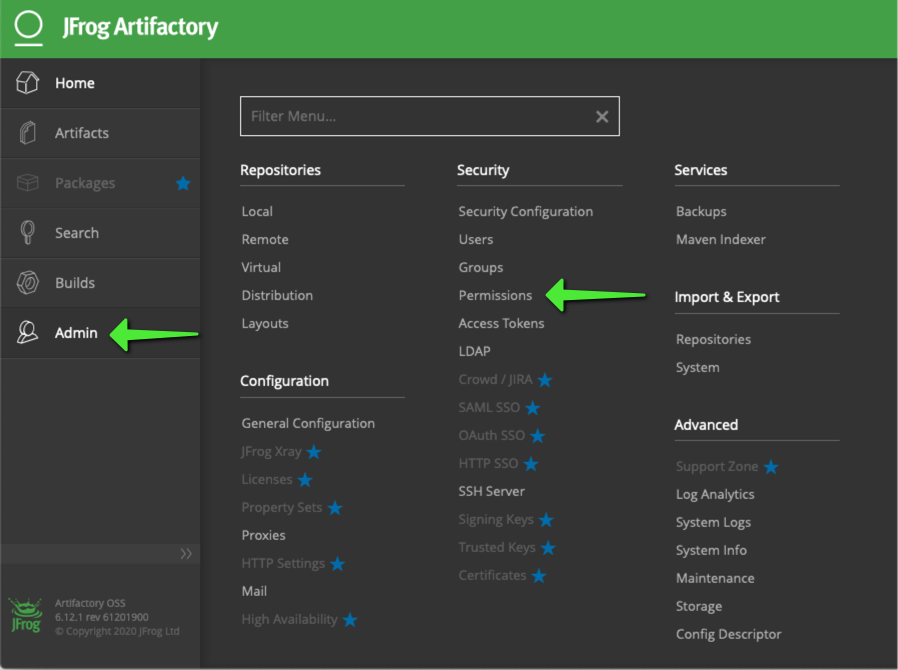
Connect to Artifactory and login, go to Admin\Permissions.
Click on New.
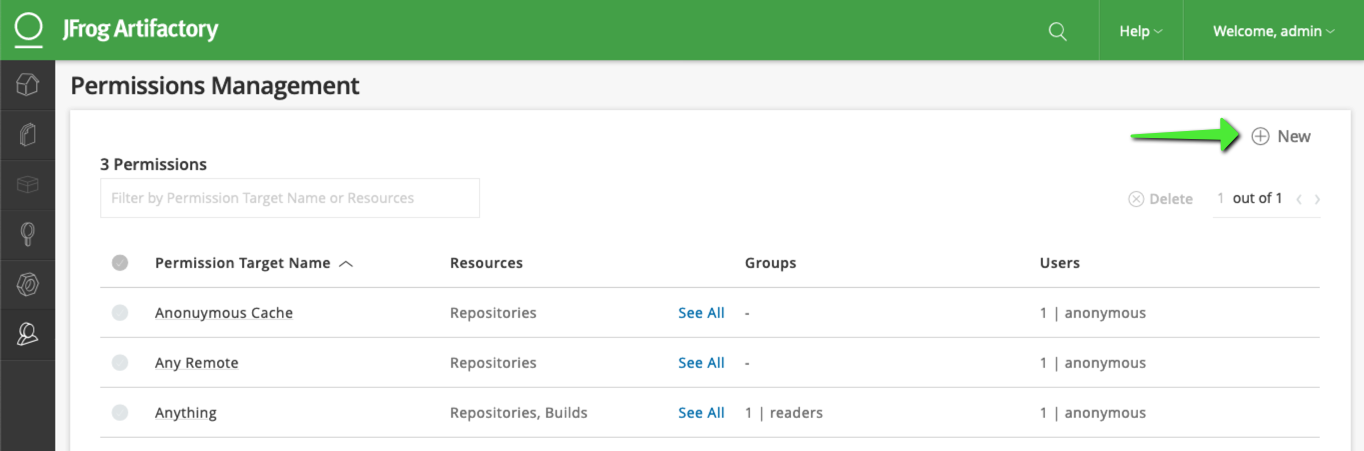
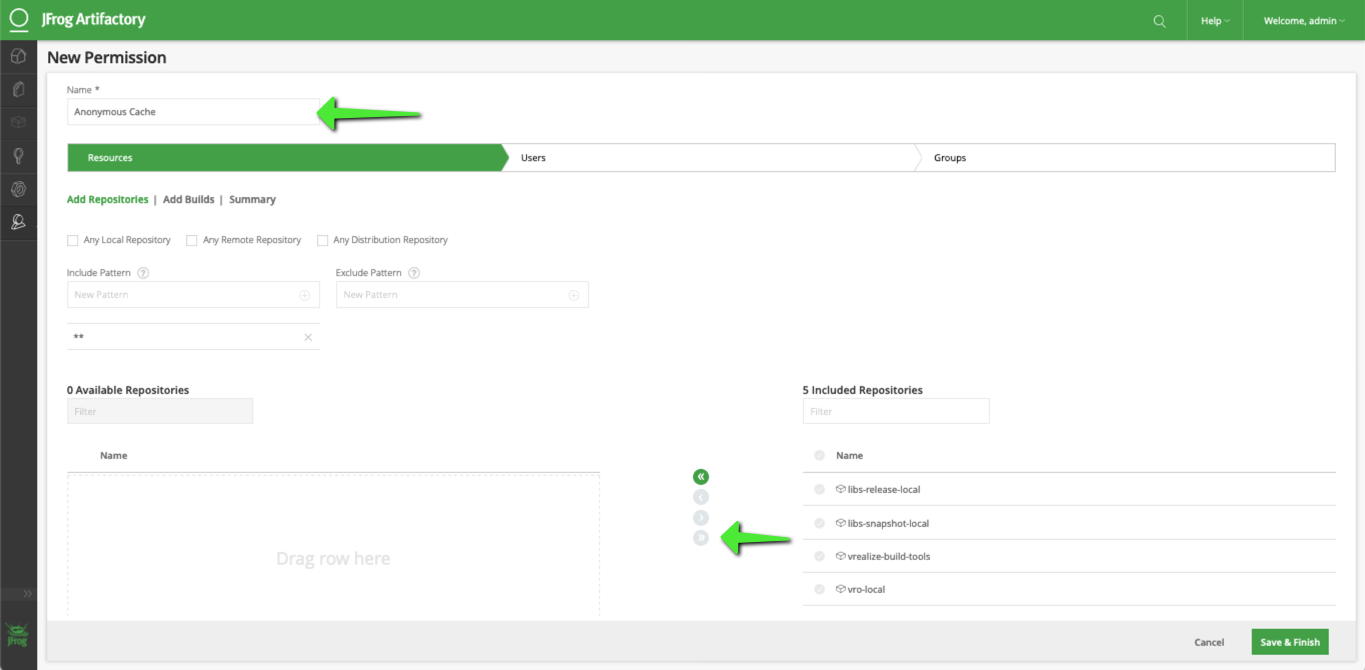
Set a name for the new permission eg. Anonymous Cache. Click the » icon to add all existing repositories to included repositories.
Go to the Users tab. Drag the anonymous user to the included users. Select Read, Anotate and Deploy/Cache in the Repository Actions section.
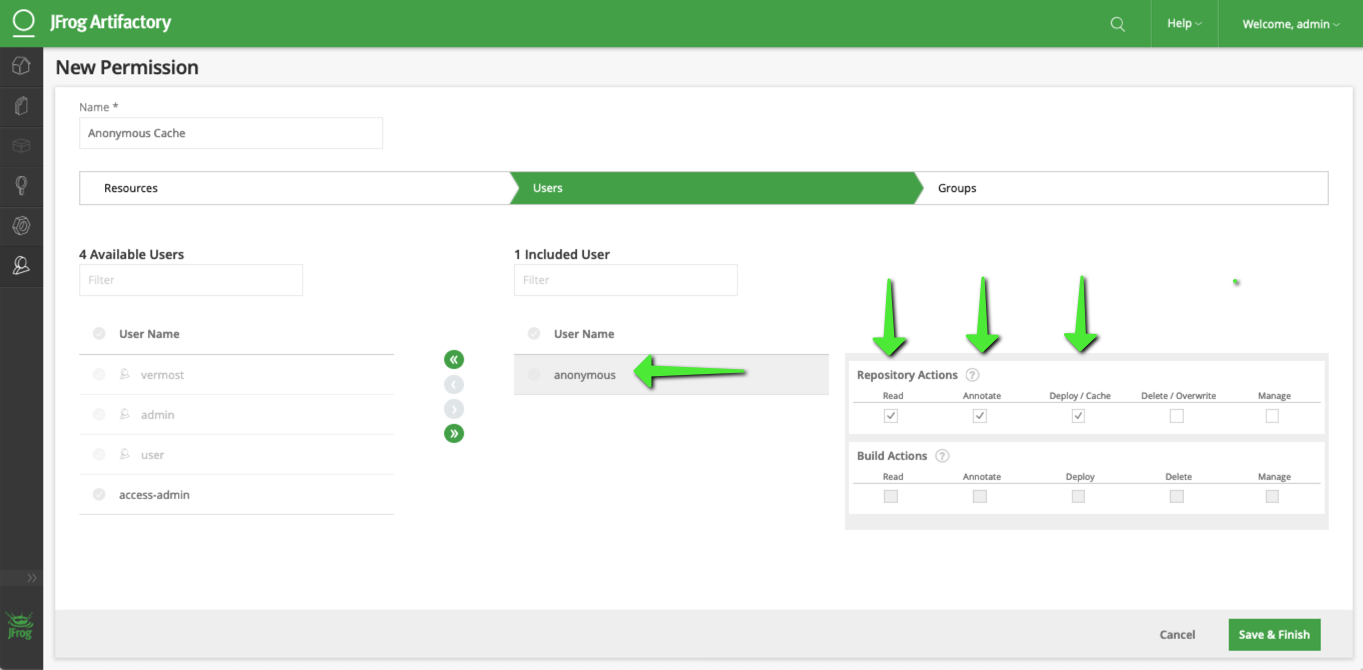
Now click Save & Finish.
Install JFrog CLI
Install the JFrog CLI on your Mac. The JFrog CLI is needed to import the vRealize Build Tools artifacts into the Artifactory server. To install it on OSX just execute below command in a terminal window.
1curl -fL https://getcli.jfrog.io | sh
2chmod +x jfrog
3mv jfrog /usr/local/bin
4source /etc/profile
Add Artifactory server to JFrog configuration
First we need add our Artifactory server and its credentials to the JFrog configuration. JFrog will use these stored credentials while executing commands. Here we are using the API key to authenticate previously created instead of storing username and password in plaintext.
1jfrog rt c rt-server-1 --url=http://artifactory.homelab.local/artifactory --apikey=<APIKEY>
Upload vRealize Build Tools artifacts
Now that we have created the vrealize-build-tools repository we need to upload the artifacts to it.
Download the vRealize Build Tools fling from https://flings.vmware.com/vrealize-build-tools. Extract the downloaded zip file and go tp the ./artifacts/maven/ folder inside the extracted content. Extract the iac-maven-repository.zip file. Go to the directory containing the extracted iac-maven-repository.zip files content. The directory contains an XML file and a subdirectory called com as shown below.

Next step is to upload these artifacts to Artifactory. As we previously added our Artifactory server to the JFrog configuration we do not need to specify any credentials.
1jfrog rt u --recursive=true --flat=false --url artifactory.homelab.local/artifactory ./ vrealize-build-tools
Where vrealize-build-tools is the name of the vRealizse Build Tools repository previously created.
The JFrog output should look as follows.
1Uploading artifact: /path/to/artifact/some-artifact.jar
2{
3  "status": "success",
4  "totals": {
5    "success": 1,
6    "failure": 0
7  }
8}
Upload vRO Artifacts
The documentation provided with the Build Tools lists only the vRealize Orchestrator 7.3 artifacts as supported. So you’ll need to deploy a vRO 7.3 appliance temporarily to get these. It seems that these artifacts work independent of the vRO version you’re actually using to develop your workflows.
We’re downloading these artifacts in a separate directory to ensure we only upload them to the artifactory repository.
1mkdir vro
2cd vro
3wget --no-check-certificate --recursive --no-parent --reject "index.html*" https://<vro_ip>:<vro_port>/vco-repo/com/
4wget --no-check-certificate --recursive --no-parent --reject "index.html*" https://<vro_ip>:<vro_port>/vco-repo/com/vmware/o11n/mojo/pkg/
5wget --no-check-certificate --recursive --no-parent --reject "index.html*" https://<vro_ip>:<vro_port>/vco-repo/com/vmware/o11n/pkg
Now that we have the vRO artifacts, its time to upload them to the vro repository previously created.
1jfrog rt u --url=http://artifactory.homelab.local>:8081/artifactory --recursive=true --flat=false ./vro vro
Once the upload has finished the output should look like
1Uploading artifact: /path/to/artifact/some-artifact.jar
2{
3  "status": "success",
4  "totals": {
5    "success": 149,
6    "failure": 0
7  }
8}
Install Gitlab
I am using the Gitlab CE edition which is available as an appliance from Bitnami. Installing the appliance is as simple as importing the OVA to your vSphere environment and provding some parameters in de deployment wizard.
Configure Gitlab
Once you installed the Gitlab appliance we need to do some basic configuration.
Create a user account
Connect to your Gitlab instance and login with the root account. Click on the wrench icon to go to the admin area.

Click on New User on the admin dashboard. Enter the account information and leave the access level to Regular. Click on Create user.
Click on the Edit button, only applicable if your configuring this in a non-professional environment. Configure the new users’ password and click save.
Configure an access token
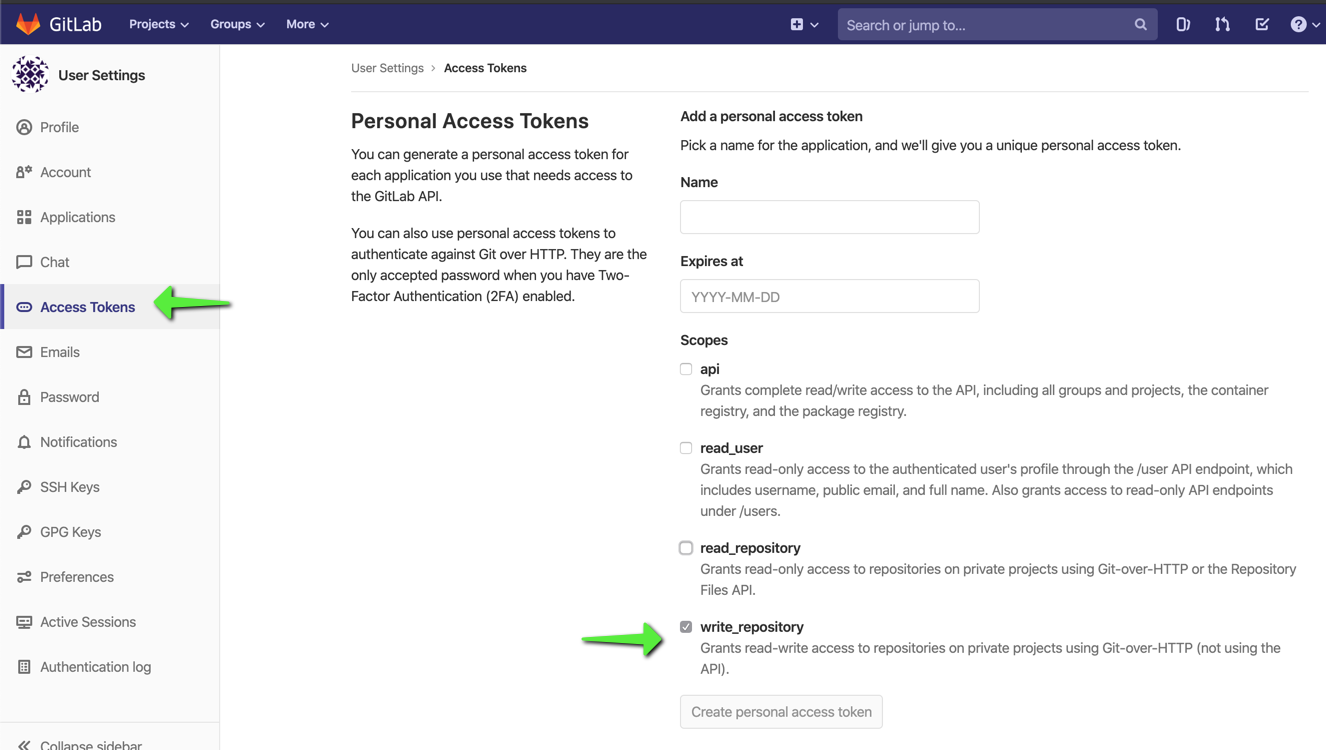
Click on the impersonate button. Go to User settings > Access Tokens, enter a name and enable the write repository options.
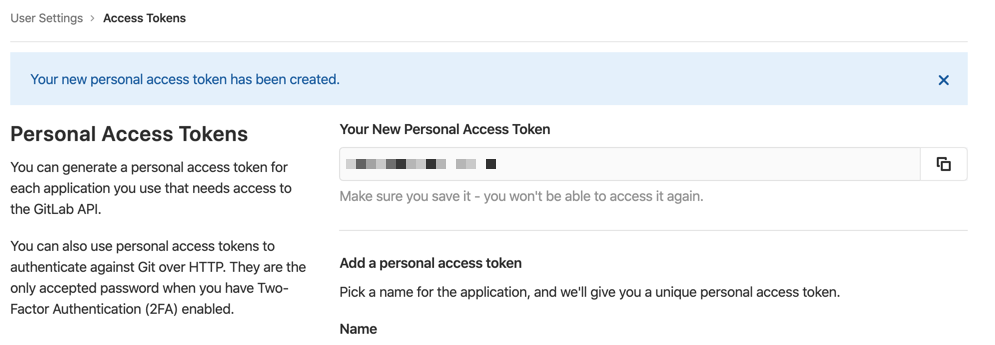
Click on the Create personal access token.
Copy the generated access token and store it somewhere.
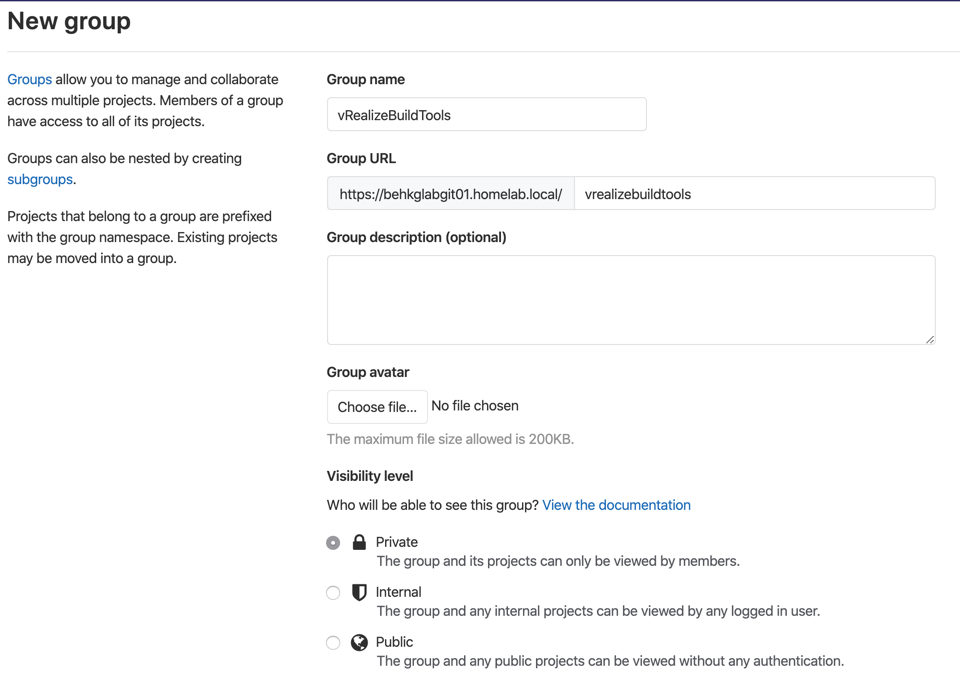
Create a group in Gitlab
Groups in Gitlab are used to organize multiple related repositories and/or projects together. The configuration applied on the group will be inherited by the projects and/or subgroups part of the group.
Click on New group, give it a meaning full name and click Create group.
This concludes the first part of installing vRealize Build Tools. In the next one we will go over the steps required to get your development machine configured.